
Video Transcripts:
Disclaimer: Transcripts were generated automatically and may contain inaccuracies and errors.
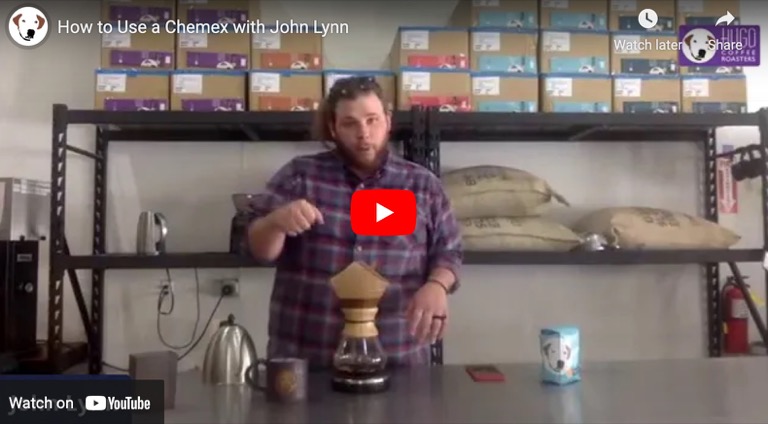
How to Use a Chemex with John Lynn
Yeah, I’m going to surprise pop in here cause you’re really muffled. Oh, okay. Um, I don’t know.
Is it easier to hear now? You’re good. Okay. This is the point of live streaming. Having fun at the warehouse. Okay. I’ll try to enunciate a little better. Try to talk a little bit louder or just on a basic laptop doing the best we can here, but yes, we’re going to do a Chemex today. There are many ways that you can do a Chemex.
You look online, there’s many different. Methods and rhyme and reasons to why people do things certain ways. We’re just going to talk about how we like to make or brew with the Cemex here at Hugo coffee roasters. Um, first thing we’re that we’re going to want to do is weigh out our coffee. I’ve got 50 grams of our Neutrik light roast right here.
And that’s what we’re going to be making today. So we’re going to go ahead and throw that in the grinder. Get that ground up, use nice freshly ground copy. And that the coarseness we’re looking for with a Chemex is something a little bit coarser than your typical drip grind. Um, something more like sea salt.
So we’re going to get that ground back.
Got our water right here. We want our water just off boiling. So if you want to bring your water to a boil, um, like I have here, I’m transferring into a different kettle, so it’s just off boiling by the time we use it. Um, or if you have an electronic huddle, you can set it to whatever degree you need, where you are.
Elevation here at park city, water is going to boil differently. Obviously then if you’re at sea level in Seattle,
All right. So we’ve got our coffee ground right here. We’re going to take our Cemex and we’re going to take our Cemex filters. Sometimes they’re around sometimes they’re square, but they are specifically for the Cemex. Ours are just the square piece of paper. That’s been folded over. What we want to do is take one side.
Open that up and make a little funnel out of it, just like this. And it’s important that we use the thicker side on the same side as our spout on this Cemex. So one side will have one thickness, one sheet, the other side we’ll have three Murray folded over the three side is going to go right with that spout is.
From there. We’re going to take our hot water. We’re just going to go ahead and pour some water all over this filter. Um, there are multiple reasons why we like to do this. The first reason. It’s because this filter is made out of paper. It’s got a lot, a little dust and paper particles all over it. Um, and we just want to get that paper tastes out of that.
We want to really rinse that. Filter out. You do an experiment at home with probably any filter that you do have. And if you just pour some, uh, filtered water through your filter, give that a taste. It will taste just like paper. So we want to rinse that. We’re going to go ahead and dump that with don’t want.
Any of this water. The second reason we’re going to go ahead and pour water in here is we like to get a, from steel of the filter onto the glass. So we’re going to get our water poured on there, and it’s really going to stick max lead to the edge of the glass. And the third reason is we really want to heat up that bus.
We want to pour this hot water in here. Get that glass nice and hot. So when we do start brewing coffee, We don’t have cold glass. That’s sucking all the heat out of our coffee. We want to have hot glass so we can keep our coffee in there. Nice and hot throughout our group process. And for the same reason, we want to keep the glass hot.
We also want to keep our mud hot. They’re going to go ahead or a couple inches of water and our mug. Let that sit while we brew that way we can just dump this right beforehand and we have a nice warm up coffee.
We’ve got our Cemex, got our 50 grams of coffee grounds for the court. Is this of salt. We’re going to go ahead and tear out our scale.
At Hugo coffee roasters. We like to do four ports. So we’re going to take this. We’re going to pour some water in. We’re going to stop. We’re going to do that four different times. Our first pour, we’re going to pour in a hundred grams of water. And this first port is just to saturate all those coffee grounds.
I wish I could show you a little bit better. I might try to get in there. Um, so you guys a little bit. But we had something going on called the bloom. So we pour water on this, uh, freshly roasted coffee. It’s gonna really puff up. It’s gonna kind of bloom over. Um, did we just want to pour enough water in there to get all those ground’s saturated?
Let them release those gasses and then we’re gonna wait, let that water run through. Let the coffee settle back down before we start our second pour. Um, we want to do twice as much water as we do coffee. So we have 50 grams of copy in here. So we’re going to do a hundred grams of water on our first poor, or get that ready.
And I start my timer and we’re going to start our poor. We want to go real slow, want to make sure we’re getting as much of the coffee wet, saturated. So through as we possibly can. You’re at a hundred grams of water now, so we’re going to stop and we’re going to let this ride for a second. Now, there was a lot of, uh, numbers that you’re going to see about how long you should let your coffee bloom.
Uh, this really depends on how fresh your coffee is, what coffee you have in your Timex. Um, Anywhere from 30 seconds up to a minute and a half is a good range for letting your coffee bloom. So if your coffee is a little bit older and maybe it was pre-ground, you’re using something like that, 30 seconds is fine.
If your coffee is a little bit fresher, um, it could take longer. And how you tell is you’re going to go ahead and wait for that coffee to settle back down. Once it stops, bubbling up. And starts settling back down into the Cemex. You can go ahead and start your second. Pour this coffee. We started our second for one minute in, um, so we’re on our second floor right now and we’re going to pour 200 grams of water into our Cemex.
Um, we want to do concentric circles. So we’re going to start pouring in the middle is nice, even of a poor as we can. We’re going to slowly work our way out and then slowly work our way back in. We’re going to try to saturate all the copy as much as we can, and you’re going to want to really focus on hitting as much of the dark spots as you can.
The lighter spots are copy that’s a little bit. It has more water to it. A little wet. The darker spots are going to be the spots that are a little more dry. Okay, another minute has passed by. We’re going to go ahead and we’re going to pour another 200 grams of water into our Cemex. Once again, we’re going to go real slow, even for nine circles, making sure to hit the dark spots.
There we go. So now our total, uh, weight of the coffee we’re brewing is at 500 grams. Remember we did 100 grams of water for the first pour 200 for the second 200 for the third. Now our last core, we’re going to do another 200 grams, which is going to bring us up to 700 grams of water total. And that’s going to give us roughly.
20 to 24 ounces of coffee, I believe so in that for two small meals and these numbers change, depending on your preference, how you like your coffee, even what coffee you’re brewing, you know, sometimes you might want to put 800 grams of water in here. Sometimes you might only do 600. So that coffee to water ratio is really up to you and of what you’d like.
But I think this is a great jumping off point for you to taste and kind of see exactly what you wipe. We’re going to do our last 200 gram for right here. Bring this up to 700 grams.
There we go. Now we just have a little bit of a waiting game. We’re going to wait for this coffee to drain through.
Go ahead and dump this water out of my mud. Getting ready for coffee. Now, when you’re making your Cemex, there is, um, an appropriate time range from when you start your term around that first four to when the last drips should be coming through in your tenants. Um, obviously this range is. A little bit large, especially if you’re looking at that 30, a second bloom time versus a minute and 32nd bloom time.
So depending on the day and what copy or using your times might change a little bit for the chemists. Um, If your copy takes less than three and a half minutes, it means that your grind is much too course that water’s going through your copy and much too fast of a pace. It’s going to be under extracted.
It’s going to be weak, not a copy of that. We’re going to want to treat at the other end of the spectrum. If this is taking more than six minutes to brew. That grind is much too fine. We’re going to get some over extracting. It’s going to take forever. It’s going to puddle up and sit in your filter and it’s just not going to be a pleasant cup of coffee.
Um, I like to say a really good time for me, not including that first poor, that first, um, bloom time that we set, we set that aside about four minutes for me is a really great time. So kind of that. Four and a half minutes, five minute range with this much copy is really good. You could go a little less, you could go a little bit more on your time.
Um, but you want to focus on if it’s taken less than three minutes, less than even three and a half minutes, you’re going to want to adjust that grinder. Also, if it’s taking more than six minutes, you’re also going to want to go ahead and do dress that grinder. Okay. So we’re totally done here now. We’re at five and a half minutes.
Discard our filter and our coffee for this in our mug. We are ready to roll that. Our Hugo coffee right here.
Little hot still. Um, usually I like to let this sit for. One to two minutes, not quite as long as you would need to let a French press sit and kind of cool down for you, but it’s pretty close to ready to drink right out of the Cemex as soon as you’re done. Um, thanks very much for watching. Really appreciate it.
Go have a good weekend and, uh, make yourself some good coffee. Have a good day. Bye-bye.